Description
HULL ROUGHNESS GAUGE
TQC has made the next evolutionary step in hull roughness surveys. Surpassing the industrial standards with an easy to operate 4-way directional push button, graphical representations, storage of data in multiple batches and survey reports in Microsoft Excel®. The whole system fits into a small sized waterproof rugged casing that is allowed as carry on travel luggage and benefits your overseas travel plans.
Controlling the roughness of a ship’s hull plays an important role in the operating costs of a vessel. The roughness of a ship’s hull increases mainly due to corrosion, pitting, plate undulation, mechanical damage, dry spray and above all bio fouling. Proper maintenance and the correct application of high-end anti-fouling coatings reduce the hydrodynamic effects and will lead to significant savings on fuel consumption and CO2 emissions.
The hull roughness is measured during in-docking and out-docking. The Hull Roughness Gauge measures the AHR value (Average Hull Roughness) of sea going vessels. AHR is the ‘mean’ of all the vessel’s hull roughness readings and is the measure against which ship’s performance is correlated.
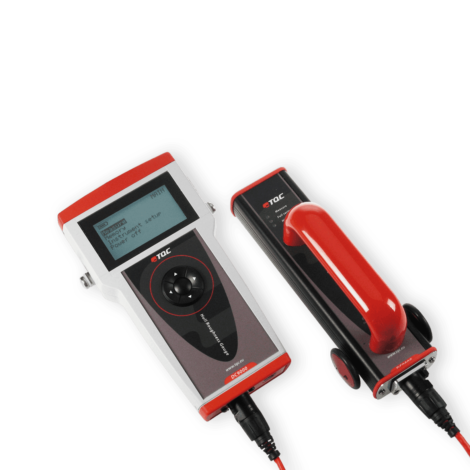
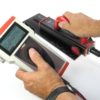
The TQC Hull roughness Gauge consists of a Control unit and a Sensor unit.
The Hull Roughness Control unit can be operated with just one hand, a 4-way directional push button operates an intuitive menu on a large illuminated display. The neck strap keeps the users’ hands free when required.
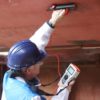
The Sensor unit is equipped with three non-slip wheels and a carbide tipped stylus and is moved over the ship’s hull in a horizontal way collecting series of measurements. A set of LED’s indicate the status of the instrument so operation is possible without observing the control unit.
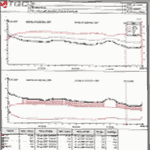
Statistics, time/date and location of each series and the average hull roughness are automatically calculated and stored in the Control unit. Using the supplied USB-cable and software you instantly create inspection reports in Microsoft Excel. Your own company logo and or -details can be incorporated to restyle your reports.
| ACCURACY | +/- 5 µm / <2% |
|---|---|
| MEMORY | Enough for 4 complete surveys done both in- and out-docking, totally over 10.000 readings |
| SPEED | 50 mm/s, with speed indication LED in the Sensor unit |
| INTERFACE | USB serial to PC connection |
| POWER | 4x AA |
| BATTERY LIFETIME | 20 hours with backlight ON / 200 hours with backlight OFF |

